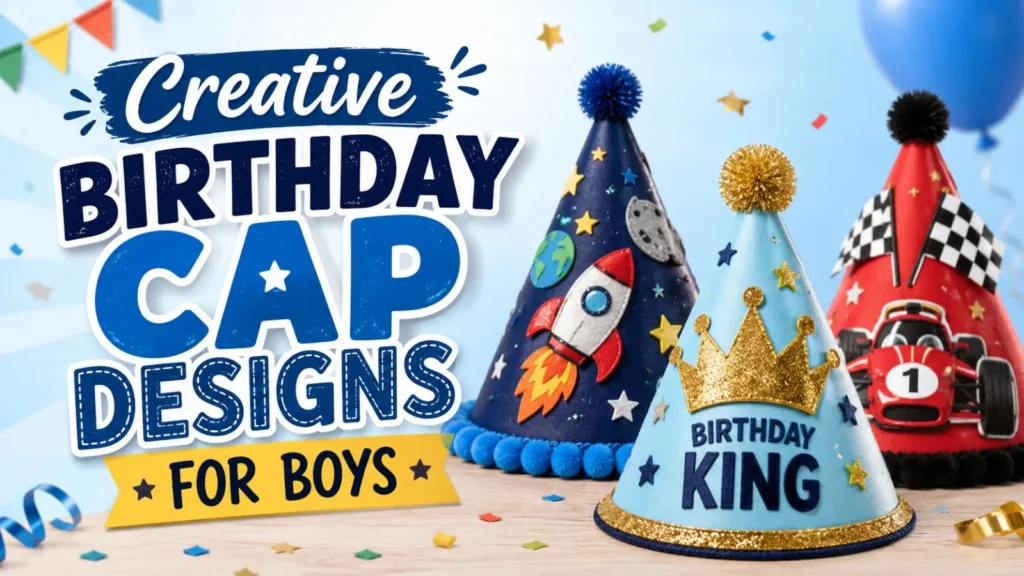
”Creative Birthday Cap Designs for Boys”
A birthday party is a very special day for every child. .Creative Birthday Cap Designs for Boys You plan the cake, the games, and the gifts. But one small item ties everything together: the birthday cap. When the birthday boy wears his cap, everyone knows who the star of the day is. It looks great in family photos and makes the child feel proud. some few designs available for ”creative birthday cap designs for boys” Creative Birthday Cap Designs for Boys Gone are the days of simple, cheap paper cones from the corner store. Today, parents look for unique themes, soft fabrics, and custom styles. A good birthday cap design for a boy matches the party theme and shows off his personality. Whether you want to buy a ready-made cap or craft one at home, this guide will help you choose the best style, theme, and material for your boy’s big day.https://www.vecteezy.com/free-png/birth-day-hat 7 best Age-Specific Birthday Cap Designs for Boys Kids change fast, and so do their tastes. A baby needs a soft, light hat, while an older boy wants something cool and trendy. Here is how to pick the right cap for every stage: Baby’s 1st Birthday: The Milestone Cap A baby’s skin is very soft and delicate. Hard paper caps with tight rubber bands can hurt or irritate him. Toddlers and Preschoolers (Ages 2 to 4)Creative Birthday Cap Designs for Boys Toddlers are energetic, curious, and love bright colors. They often have strong favorite toys and animals. Young Boys (Ages 5 to 8) Boys in this age group love action, adventure, and stories. They want to show off their passions to their friends. Tweens (Ages 9 to 12) Older boys often think standard birthday cones look too childish. Instead of forcing a cone hat, choose modern headwear they will enjoy wearing. 3. Trending Themes and Style Concepts Choosing a fun theme makes the party feel special. Match the birthday cap design to your party decorations with these popular ideas: The Little Prince and Royal Crown Turn the birthday boy into royalty for the day. Use gold or royal blue cardstock to cut a classic pointed crown. Add shiny faux jewels, golden borders, and a plush white cotton trim along the bottom edge. This style works best for first birthdays and prince-themed parties. Safari and Jungle Adventures Boys who love animals will enjoy a wild safari look. Use neutral craft paper, burlap, or earthy green tones for the base. Glue paper lion manes, monkey faces, or felt bear ears to the sides of the cone. Finish the top with a fluffy brown pom-pom for a cute touch. Video Games and Pixel Art For gamers, skip the sweet patterns and go digital. Use black cardstock with neon green, cyan, or purple edges. Add pixelated badges, game controller stickers, or the classic “Level Up” text with the child’s new age. Sports Champions If your boy loves playing sports, shape his hat around his favorite game. Paint cone caps to look like basketballs, soccer balls, or baseballs with clear stitch lines. You can also print his favorite jersey number and glue it right onto the center. 4. Materials and Comfort Guide A birthday cap can look great, but your child will take it off quickly if it feels scratchy or heavy. Picking the right materials keeps him smiling all through the party. Best Materials for the Cap Body How to Choose the Right Chin Strap The strap holds the hat in place, so comfort is key: Safety Tips to Keep in Mind 5. Step-by-Step DIY Birthday Cap Tutorial Making a custom cap at home is quick, fun, and saves money. Follow these simple steps to build a sturdy, colorful cone hat for your boy: Things You Need Step 1: Cut the Cone Shape Print a simple semi-circle cone template or trace one with a plate. Cut cleanly along the curved bottom edge and the two straight sides. Step 2: Decorate While It Is Flat Always add your designs before you roll the paper. Lay the cut sheet flat on your table: Step 3: Roll and Glue the Cone Gently roll the straight edges toward each other until you form a cone. Make sure the pointed tip sits neat and tight at the top. Apply strong double-sided tape or a line of glue along the seam, and press it firmly for 20 seconds. Step 4: Add the Top Pom-Pom Put a dab of glue right on the top tip of the cone. Press a large yarn pom-pom or a shiny foil star onto the tip and hold it until it sets. Step 5: Attach the Chin Strap Punch two small holes directly opposite each other, about half an inch above the bottom rim. Put your elastic cord or ribbon through the holes from the outside in. Tie a double knot inside each hole so the string stays firmly in place. 6. Buying vs. DIY: A Quick Comparison Not sure whether to make the cap yourself or buy one ready-made? Consider these points: Factor Making It Yourself (DIY) Buying Ready-Made Best For Unique themes, personal touches, fun craft days Busy parents, short notice, clean finishes Cost Very low (uses basic craft supplies) Moderate to high (especially for custom orders) Time Needed 20 to 40 minutes per cap A few minutes to order online or pick up Durability Good if you use thick cardstock or felt Very high if made from plastic, wood, or acrylic Frequently asked questions people also read: Creative Birthday Cap Designs for Boys
